Showing posts with label art studio. Show all posts

Wednesday, June 20, 2012

What's On My Worktable? : Wednesday


What's On My Work Table Wednesday

It's Wednesday! Time to peek at my work table for "What's On Your Worktable Wednesday" over at The Stamping Ground blog

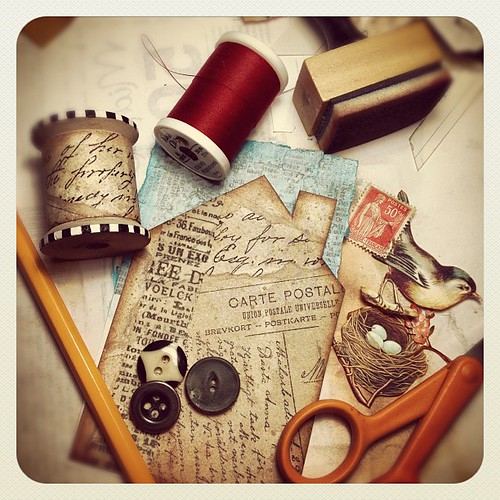
Today I am working on another Index-Card-A-Day (ICAD2). I'm going to use the red thread to sew around the house shape - which is my ICAD for today. The postage stamp, bird, and nest will be going on the house. For the buttons, I am still undecided. They sure do look good with the colors in the ICAD. Might have to get them into the design somehow.  

The paper covered spool is part of a gift for my bestie so I cannot say more about it just yet. :)

I just noticed in the photo that you can see the back of my scrap paper - an old unused coupon from my favorite craft store! Seriously folks, I recycle everything. 

Also of interest, the amount of space on my table shown here is pretty much all that is cleared off enough to work in. Hello, Six Inch Square Club

- Vickie

Wednesday, February 15, 2012

What's On My Work Table Wednesday 2/15/12


Tim Holtz "The Journey Journal" Kit

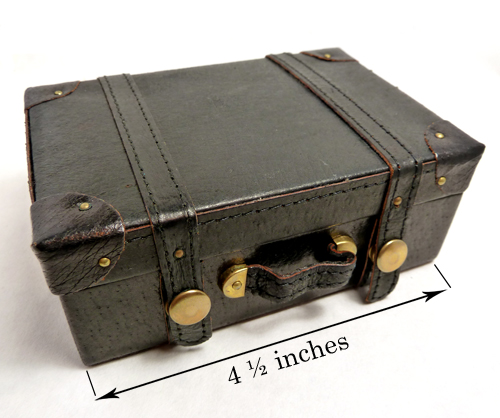
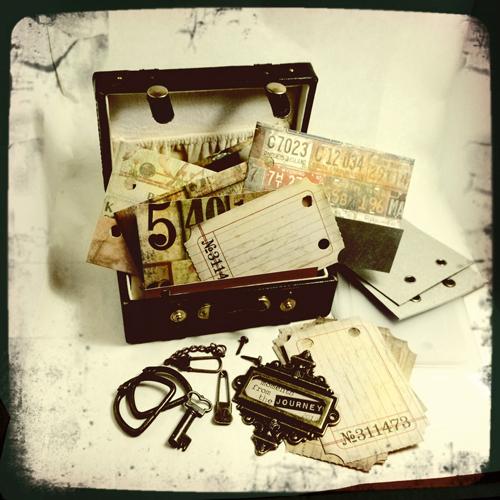
My kit came from Tim Holtz's Etsy shop!! It's adorable!! Everything in the kit fits inside this tiny suitcase.

Tim Holtz "The Journey Journal" Kit :: Tiny Suitcase

Tim Holtz "The Journey Journal" Kit

This is how it looked when I opened it. So neatly tucked in and waiting for some ink! I love the little elastic pocket in the top of the suitcase. 

Tim Holtz "The Journey Journal" Kit :: Tiny Snaps

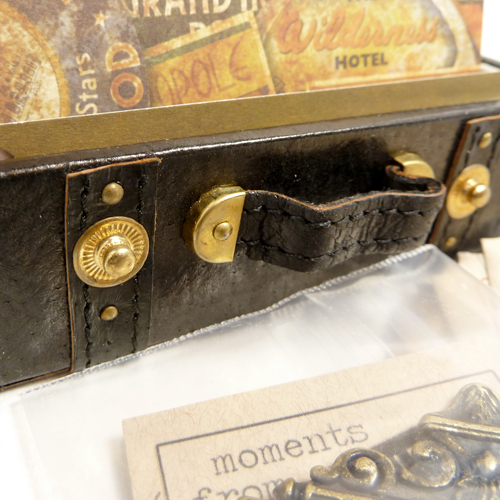
The tiny suitcase has real working tiny snaps! 

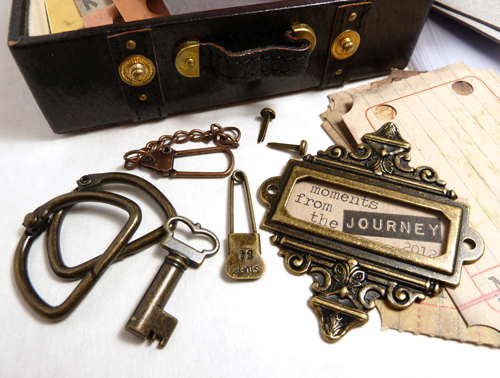
Tim Holtz "The Journey Journal" Kit :: Hardware

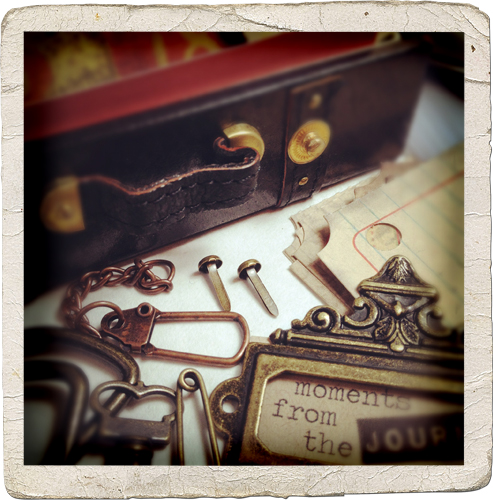
It came with some really nice hardware. All the pieces compliment each other perfectly.  

Tim Holtz "The Journey Journal" Kit

This photograph is showing all the parts of the kit. Each page has a pocket folded up. There are also eight clear ATC sized page holders.  

I'm really looking forward to putting this together. I will certainly keep you posted on the process! 

- Vickie

Thursday, February 2, 2012

What's On My Work Table: Wednesday


Hey kids, what time is it?! It's time for "What's On My Workdesk Wednesday"! AKA "What's On My Art Table Wednesday"! It's so fabulous it has two names!

Workdesk. Art table. Tomato. Tomahto. 

Actually the posts I started doing (and apparently stopped) were called "What's On My Art Table Wednesday?". Today it's changed because I want to participate in "What's On Your Workdesk Wednesday" (WOYWW) over at the Stamping Ground blog.

What's On My Work Desk: Wednesday 2/1/12

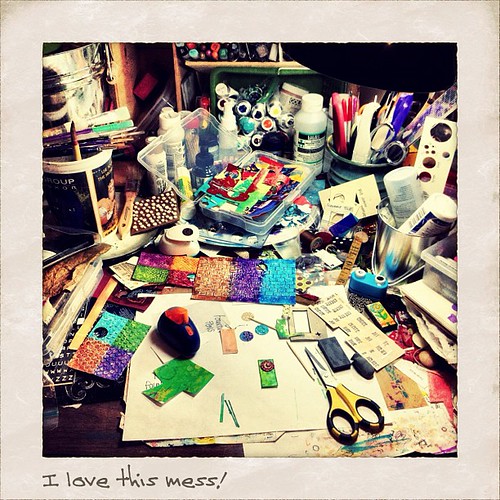
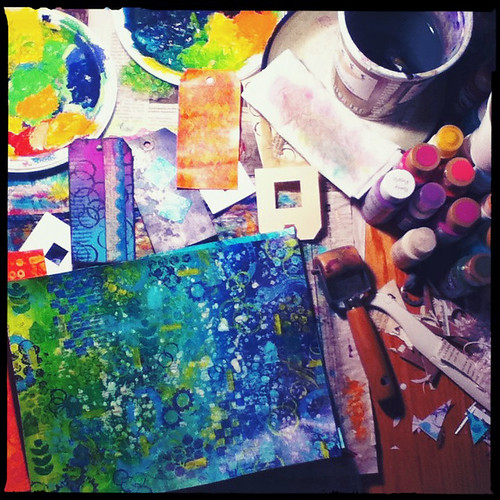
I took this photograph yesterday when what was in front of me while art-ing struck me as such a beautiful colorful mess. And I love those kinds of messes! 

The colored bits of paper are all painted by me for use in my mixed media collage. This photo shows quite a lot of the various media I like to use. I use paint, markers, paper, inks, stamps that I make myself, fiber, ribbons, watercolors, stencils - both homemade and purchased, gel mediums, and paper punches to name a few. 

The piece I am currently working on is that tiny oblong rectangle of green next to my yellow striped scissors. That is the size of my original collages for my line of domino pendants. Tiny. 

This photo was taken with my iPhone 4S, with which am I madly in love. The resolution is much better than previous models. Mixed with fun photography and editing apps it's a handy artists' workhorse. This was photographed with Camera+ and then edited in Instagram. You can find me on Instagram by the name of HeyVickie

Thanks for dropping by to my studio "virtually". I'd have you over personally but this place is a mess! 

- Vickie


I'm not being paid by anybody for any of this. Just sayin'.  

Wednesday, August 31, 2011

"What's On My Art Table?" Wednesday


Blue & Magenta Circles :: Full

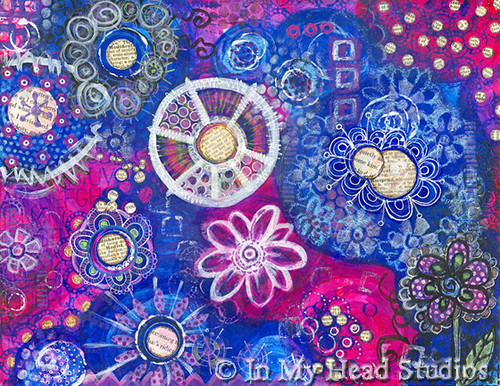
This page began as part of a workshop assignment to paint circles and then doodle over them. I am still working through Traci Bautista’s workshop called {31} daily inspirations. Yeah, that class I signed up for in early 2011. I’m really just now getting around to it.

I started with a white piece of 8.5” x 11” cardstock. Several thick layers of gesso were added to bring in a little texture to the paper and to seal it.

I acquired a new tube of paint I wanted to try called quinacridone magenta (Golden heavy body acrylic). When I opened the tube and saw how lovely it was I knew the perfect color combo would be phthalo blue, a hint of desert turquoise craft paint, and a little white.

The plan was to paint some loose circles and keep it simple. I was making a simple page to cut up to use for other collage work.

Uh. Yeah. Got a little off track there.

I saw the bigger circles had smaller circles in them. So I started working them individually thinking, “Ok, I’ll just cut this up in sections now for use on domino pendants and other smaller collages.” No problem. I have done that before.

So I began to think of the page as sections I was going to disassemble. They were not related to each other on the page. Just conserving paper by doing this prep work on one sheet.

But then it started to kind of take on a cohesive look. And got more detailed. And then my mom stopped by and she gasped loudly when I said I was chopping it up for other uses. Now I don’t know what to do with it.

I think it might be about six paintings living in one as I explored many techniques and media here… maybe too many. I suppose if any deconstruction occurs it will be mentally breaking down the parts for other new works.

Also I recently discovered on my own that I could continue my long, torrid love affair with oil pastels! They can be sealed over with matte medium without destroying them and then they do not smear. Joy of joys! You can even write over them with a gel pen! Unheard of! There really isn’t anything like a nice, bright, crayon-looking oil pastel mark on a page for some interest. I had hung my oil pastels up to (never) dry since the mess was always a problem when doing so much mixed media work. Now it’s solved and we are back in love! <3


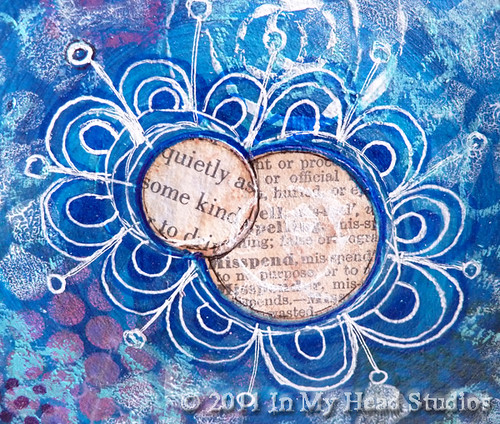
Blue & Magenta Circles :: Flower Detail

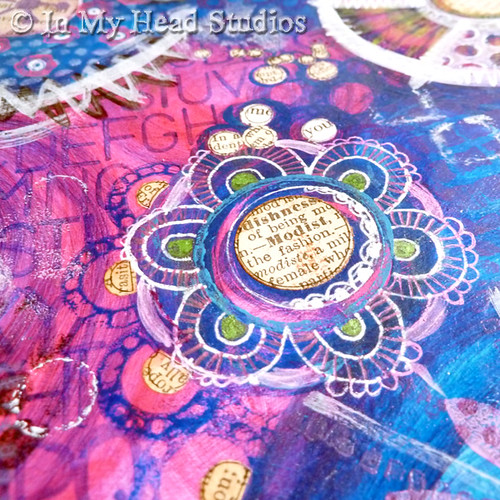
This is a close up of a flower created with gel pens and circles punched from an old dictionary page. I really like the lettering in the background on the left. That was done with a Copic marker and a stencil. The colors compliment wonderfully.

Blue & Magenta Circles :: Detail

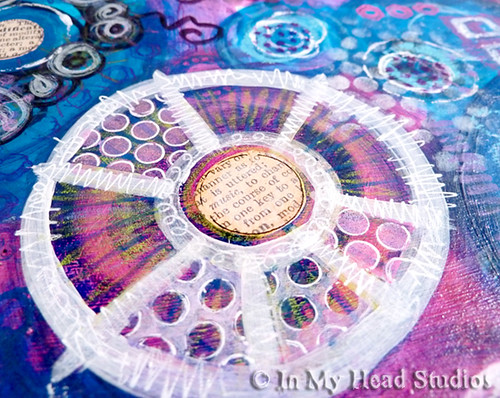
This is a mix of a little bit of everything: paint, colored pencil, gel pen, book page, and pigment ink.

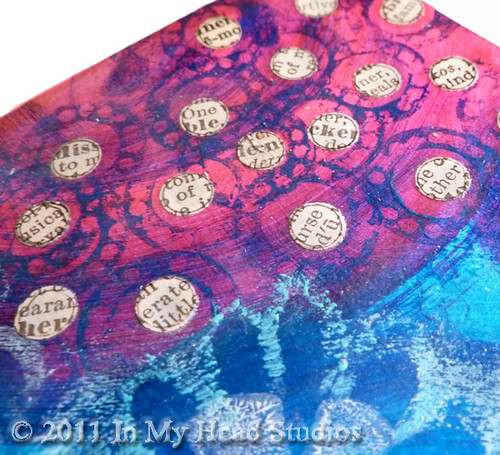
Blue & Magenta Circles :: Text Circles Detail

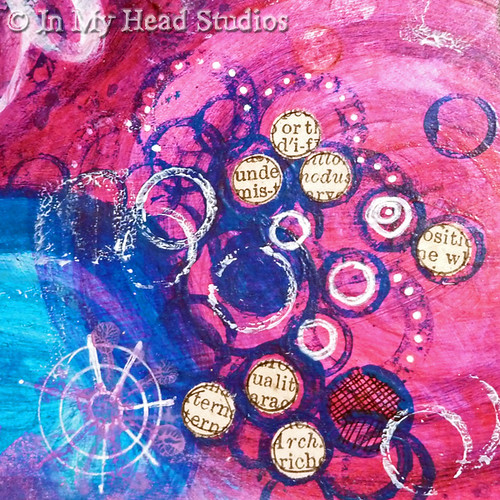
Circles stamped with found objects. The 1/4" hole punch dots fit in the circles perfectly! There's a little gel pen, too.

Blue & Magenta Circles :: Flower Detail

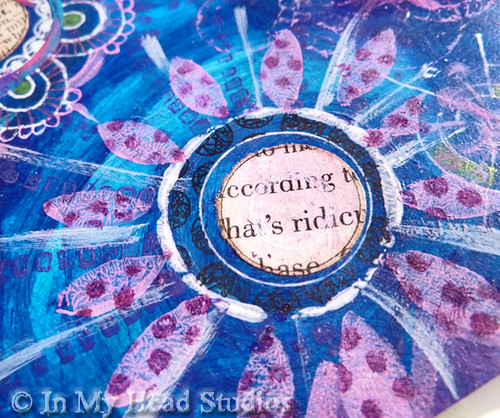
More book page and gel pen. The flower petals and the very small dashed lines are stamped with stamps I made. The tiny dots were done with a stencil I made with my 1/8" hole punch.

Blue & Magenta Circles :: Text Flower Detail

I aged these book pages more than the others with Distress Inks. I like how they are layered. The depth in the background was created with two colors of Copic markers. You can see oil pastel on the edges of this photo. Welcome back, oil pastel!

Blue & Magenta Circles :: Text Dot Detail

More tiny text dots. More found object stamp circles. This found object stamp came from a disassembled adhesive tape runner. (Nothing is safe from being taken apart and inked or painted in my house!)

Do you see what I mean that each of these close-ups could be their own painting? I must explore this further.

The details: acrylic paint (Golden heavy body and the craft kind), matte medium, oil pastel, vintage book pages, gel pen, Copic marker, Sharpie, colored pencil, pigment ink, stencils. On paper. 8.5” x 11”

So now I am back to the painting board to make some simpler pages for chopping up!

Happy Middle Of The Week!


- Vickie

Thursday, August 25, 2011

What's On My Art Table? Wednesday


Let's just pretend it's Wednesday, just you and I, on the down low.


Honestly, as you will see, I had too much happening on my art table on Wednesday to find time to post! Then taking photos and editing them made it impossible to get this up on time.

Give me a break, please. I'm new to a weekly post schedule and am still working out the kinks. :)

Without further ado, my projects!

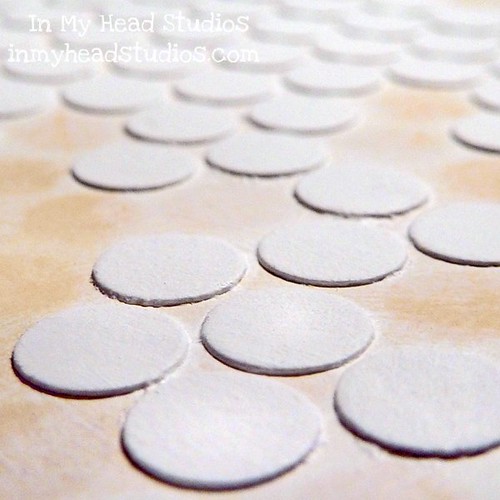
Tiny Paper Circles

These are 1/4" paper circles I punched from a regular hole punch. This a really close up photo. I glued them down in a punchinella pattern and added gesso over them. This will make great texture for collage and art journal pieces after I paint it. It's quite fiddly and took forever to punch all these and glue them down! You can't see the whole page, but there are more than a hundred glued to that page. I am sure doing this kind of prep work will pay off soon!

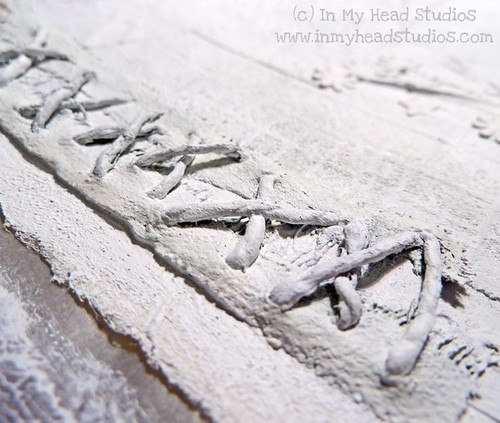
Stitching

I am still working on my art journal page for 2011 in my theme of "healing". Some of my selves need to be stitched back together. I took some rough hemp and very vintage gaffer tape and sewed them together. Then I glued it to my page. A heavy layer of gesso was added to blend it in.

Right now the page has a ton of layering simulating pieces and parts, layers of myself, layers of skin, all healing back together. Evey thing has been coated in gesso to mimic a layer holding everything together. Whole. Healed. All put back together. One.

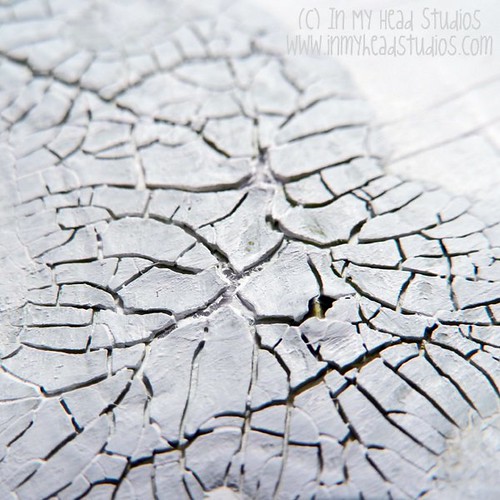
Close up of Distress Crackle Paint

Distress Crackle Paint in green ("peeling paint" color) looks really neat in a macro photo! Those cracks look deep. It was green on the "healing" art journal page so it needed gesso, too. But not too much. I didn't want to fill in the cracks.

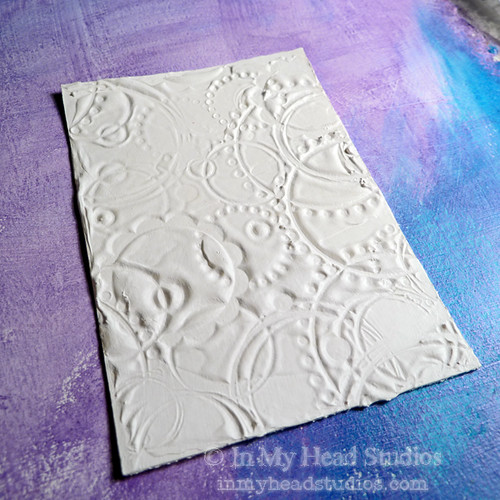
Pre-Painted Circles WIP ATC

This is an ATC sized (2.5" x 3.5") piece of watercolor paper with texture from a "super sekrit" process I developed. It has two layers of gesso on top of the texture part.

I really cannot tell you how much I love gesso. I previously poo-pooed it in my head trying to be economical. I recant that opinion. It makes paint so much paint-ier (fun)!

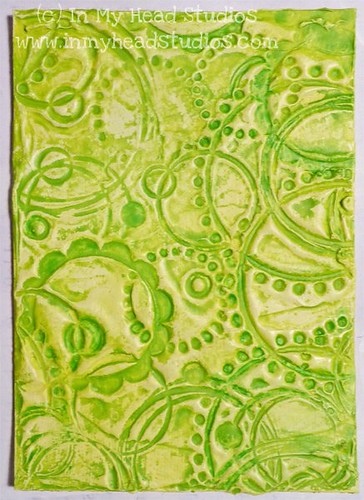
Circles - WIP ATC

This is the same piece as above... just with paint! I scribbled a little yellow and light green NeoColor 2 watercolor crayon on it and wet that with a baby wipe to spread it, which worked better than I expected. Then I made a very watery, slightly darker lime green acrylic paint wash and painted it over the whole thing. I wanted it to settle into the recesses of the texture so I let it sit to dry a little. I very carefully rubbed the darker green off the raised areas with a plain piece of copy paper. Newspaper works well for this, too, as it's absorbent. Paper towel would have picked up too much paint because it's too absorbent.

I did have to touch up the darker green as I rubbed a bit too much. It's easier to touch up the recesses with a tiny brush.

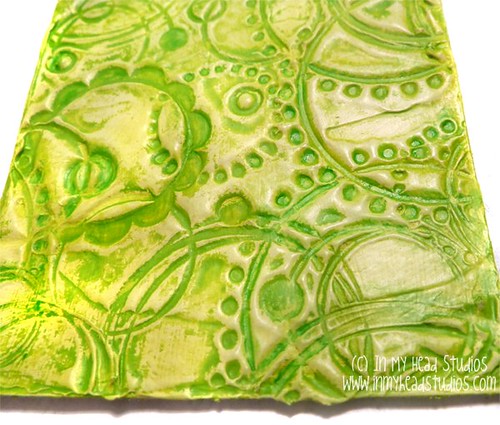
Circles - WIP ATC :: Close

(Have I mentioned how much a love the macro zoooooooom on my digital camera?)

These pieces are not anywhere near done. But I have a pretty good start so I am happy. I certainly have no right to claim boredom with so many UFOs (UnFinished Objects)!

- Vickie

Wednesday, August 3, 2011

What's On My Art Table Today?


What's On My Desk?

A mess?

A Tiny Work of Awesome?

Both?!

Yes!*

* It's your lucky day!

The Mess:

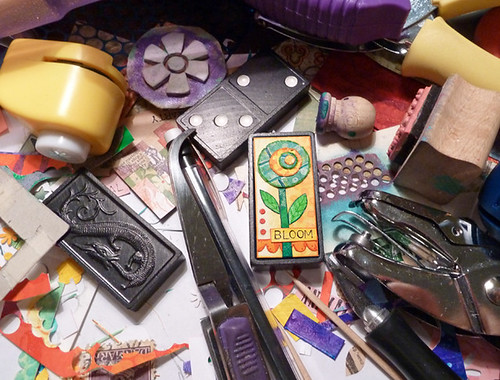
This is the usual state of things on my work table. I make tiny things. I work in tiny spaces. I use a lot of tools.

The Tiny Work of Awesome (Domino Pendant):

That is an original, one-of-a-kind, paper and mixed media collage on the domino pendant in the middle of the photo. The artwork measures approximately 3/4 inch x 1 9/16 inch. Yes, it is very small as you can see from the scale of the items around it.

The different layers of the flower are made of various papers. I hand cut all those little pieces of paper. I only use a punch for 1/8 inch and 1/16 inch circles.

I paint and collage all of my paper by hand. The stamped designs are stamps I created myself from various found objects, craft foam, or cardboard. The word "bloom" is also hand stamped.

This domino pendant isn't sealed properly yet. I've just now finished the paper part. (Let me know if you are interested in it though.)

Plus there is a mess of other potential Tiny Works of Awesome on my table!

Look! More dominoes! More stamped and painted paper! Wheeee!

Over at flickr there are notes on the picture above! I've marked the image with words telling what stuff is! It's amazing!

- Vickie

Saturday, July 16, 2011

A Little Party


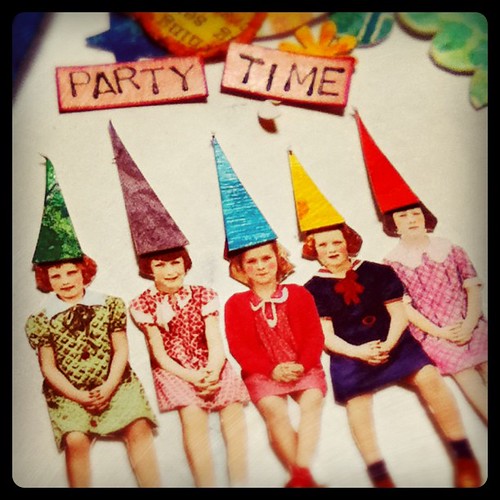
Party Time!

A teeny, tiny, little party broke out in my studio a few nights ago. These little ladies (ahem!) took over my work table and made their own party hats. I could not believe my eyes!

Don't be fooled by those itsy-bitsy innocent looks. I can't turn my back on these gals for a moment! They keep getting into the paint.

Since they're only an inch tall head to toe, it has become tricky to locate them in the mess on my table. They continue to sneak off and explore remote parts of the mess. However, one did return bearing some glitter I had been looking for so I suppose they can stay if they make their keep.

But don't think I don't have my eye on you, Little Miss Green Dress on the left. You look like proper trouble.

- Vickie

Photo taken with Instagram on my iPod Touch.

Friday, May 20, 2011

Where The Magic Might Be Under That Thing Over There


the mess

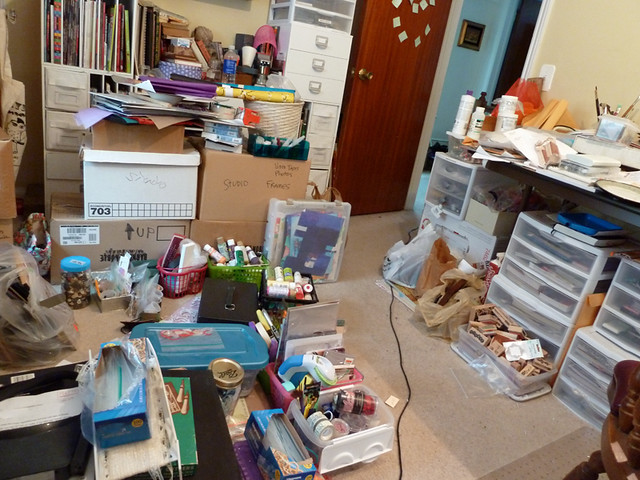
You can ask me where anything is in this mess and I can pinpoint it with amazing accuracy. Click the image and go see it at flickr. I made notes on it so you know what all this junk is. Mostly it is stuff that I just have not put away from the studio having to be downstairs for a while. Mr. M just brought most of it back up here for me today. That is the only reason anything is organized in little containers like this. :)

I'm posting this frightening look into my studio for the Shopping Our Stash (SOS) Challenge.

Clearly I have a stash. A big one. Please do not alert the fire department. The challenge is to start using up the untouched, virgin supplies I have been saving for "that perfect project". You know, that one? Right!

SOS is hosting a weekly challenge starting May 24th. Right now they are kicking it off with a Kick-Off Open House and showing our stash or studio spaces. There's some blog candy giveaway going on for showing us your studio or stash!

My Twitter buddies Leslie, The Crooked Stamper and Lisa from PaperGrace Designs are part of the SOS Crew. They are very talented paper artists and I am humbled to even enter a challenge they are doing as well. So I already know I ain't gonna win (unless they have a messiest award). :)

the mess
Click for a bunch of notes on this photo at flickr

Why do I have such a stash? Sometimes the supplies I buy are too pretty to mess up. Little embellishments, sparklies, fancy little doo dads... Oh, shiny! They are too pretty to be used on my trashy work, right?

Do you catch yourself saying that in your head? I do. It's a buzz killer. Let's stoppit. Ok?

Now I give myself permission to mess up create beauty with the fancy doo dads and sparkly things! I'm going to break into the expensive Distress Crackle Paint, the big sheets of expensive handmade paper (gasp!), and the other paper. Oh, the paper. It's a real problem. I have no reason at all to buy any new paper. Or more old paper for that matter.

So off to the stash!! Use it up! Make room for more stash! Er... I mean make room for spaciousness in your studio!

- Vickie

Thursday, April 21, 2011

From Under My Rock


The Painty Mess

Has it been more than three months since I've blogged something? Time is making less and less sense to me.

I can fill you in pretty quickly on what's been going on the last 3 1/2 months. It's been a whole lot of very little. The death of my father has kind of thrown me for a loop, the latter of which I find to be an appropriate expression because I do kind of feel like I am tied to the end of a rope that someone is just swinging in wide loop-the-loops nonstop 24/7.

To cope with everything I have pretty much just thrown myself into art... coming up with new projects, some new designs, and delving into some new mediums.

I find that if I need real diversion from reality through art I require very strong immersion into the new work/play… something that takes up a lot of my brain so that it is not thinking about things other than art. I need my brain to just be doing, not thinking. There's entirely too much thinking going on here lately. Dangerous stuff.

Since I have been unable to get upstairs to my own studio (hemiplegic migraines), I needed to bring some of the studio downstairs to the living room. I attempted to keep the needed supplies for the project I wanted to work on down here to a minimum so as not to make a great big mess. Sometimes that's hard to do as a mixed-media artist.

So I grabbed the bare bones of paper crafting supplies: scissors, pens and pencils, eraser, ruler, glue, and tape. But the thing I really wanted to get into was PAINT, which I haven't worked with much for quite some time and have longed to experiment with more as I have been playing with it in my art journal.


clear emboss over painted collage #workinprogress

Of course doing something with just paint wasn't enough. My desire to do something with printmaking has been growing again. I decided to create my own stamps out of Fun Foam. It's super simple to make your own stamps out of foam, and I want to show you how I do it. But that's for another post!


I'm sure Mr. M is not keen on how much of the living room is over taken by the art studio currently, but I'm having a really good time!

Business is still running mostly as usual. Please bear with me as illness is preventing me from checking e-mail as frequently as I would like to and also from being up in the studio as much as I need to. Currently, it is taking me a few days to answer e-mail and other messages, so please be patient. I’m here but moving at a snail’s pace sometimes.

I'm so looking forward to some insane indie crafty fun at

Saturday, April 30, 2011
10 AM - 4 PM 
900 East Main Street in Rochester, NY! 


I, In My Head Studios, will be there with my Tiny Works of Awesome domino and game piece jewelry and accessories plus some NEW stuff! Yay for new! 

I should mention that the vendors at Mayday have created ridiculously excellent FREE swag bags for the first 50 indie shoppers that arrive! Get there early! There will be a girl fight line!


- Vickie

Saturday, October 2, 2010

Collage Paper Prepping

Lately I have been creating my own papers for collaging. I’ve needed a couple specific colors for some new ideas that I could not find in my scrapbook paper stash. Gasp! How could that even be possible? I know! But it is indeed true!

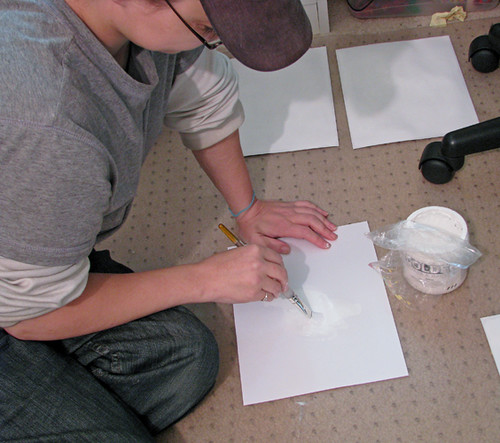
My process starts with a generous coat of gesso on regular white cardstock. Nothing fancy… just a pack of white cardstock from the craft store. I kind of lay the gesso on thick creating a great deal of texture. This step is best done in batches so I do between four to six pieces of paper at a time. I bought some of those giant plastic carpet protectors so my chairs could scoot on the carpet in the studio. They have turned into great carpet protectors from painty projects (not that we are really attempting to save the carpet in the studio anymore at this point)!

Prepping Paper With Gesso

I don’t know if it’s a throwback from childhood or what but I prefer to sit on the floor when I work. My body is displeased with this however and only lets me do it every so often. But painty gesso on paper calls for the floor! Huzzah! Also, there is not enough room on my worktable to accommodate the drying of four to six pages of paper.

The gesso dries quite quickly and I get to paint them soon. I think today I need more yellow and orange. Maybe some red and green for domino Christmas ornaments. Pink for cupcakes. I will also play around with some glazing and layering for visual interest.

This is a page I painted for a project a few weeks ago.

Collage Paper


Collage Paper :: Close Up

So what becomes of all this painted paper? It gets cut up into ridiculously small pieces for decorating dominoes. I’m talking about pieces smaller than half an inch, mostly much much smaller. Often I wade into dealing with one millimeter by one millimeter pieces. Yep. I do. Why? I’m still looking for the answer to that question.

- Vickie

Thursday, August 19, 2010

Hand Art Therapy Doodle


Hand Art Therapy 8/18/10 :: Close Up


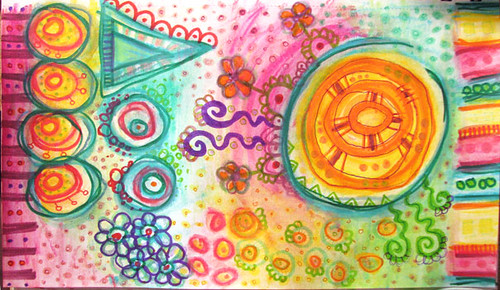
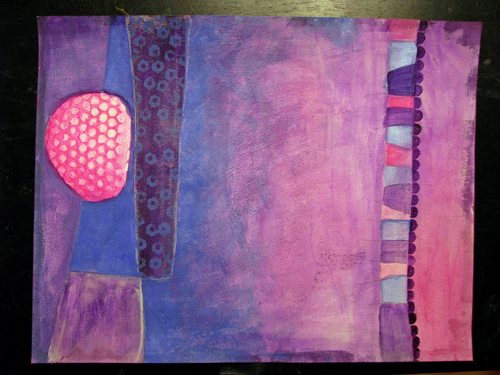
Playing with my watercolor crayons has been helping me regain the use of my right hand after the hemiplegic migraine. Still not quite 100%. I would give my arm an 8 out of 10 and my leg a 6. Traveling short distances around the house without a crutch is getting easier.


Hand Art Therapy 8/18/10


Watercolor crayons are so much fun. I like to use a brand called Caran d’Ache. They go down smoothly and provide good coverage. You can also lay down a really light amount and still get a nice color wash. They are a little pricey but totally worth it. I bought one size up from the smallest set to get started and then bought them from the a la carte rack individually to choose the colors I wanted. Bought one or two here and there and soon enough I had a nice collection of colors.

I am painting with a little water filled brush. It holds water and squirts it out of the brush tip. No need for a water container. This thing is brilliant!

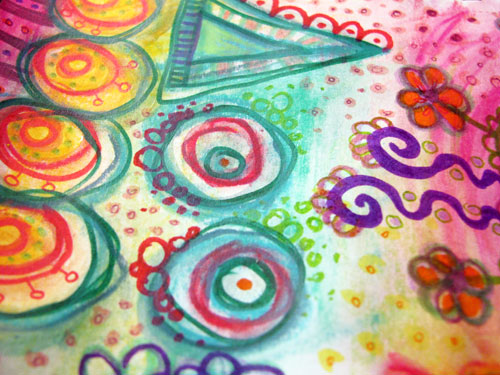
The details were added last with my Marvy Le Plume II markers.

- Vickie
Friday, July 23, 2010

Attention To Detail?

Or maybe "How To Know You Are Getting A Quality Product From Me".

Also known as "How Anal Retentive Am I?"

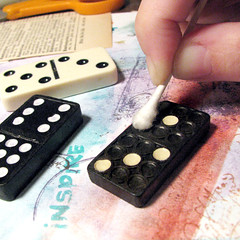
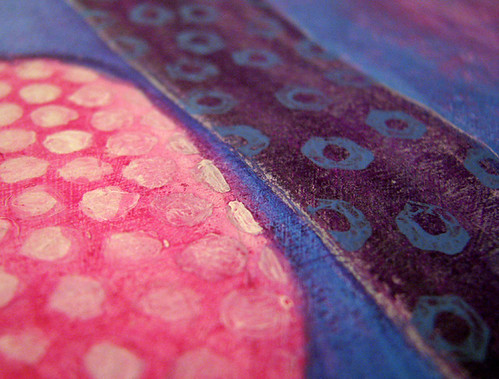
Gimme a break! There's like 50 years of yuck all crusty in there! This is a very old domino with great relief carved out dot dimples.

The dots on the regular black wood dominoes don't need much cleaning. The plastic dominoes do need a little TLC having the dimples cleaned out.

[I posted this straight from the flickr/blog interface. Not sure I dig the layout.]

Happy Friday!

~ Vickie
Wednesday, January 20, 2010

Color Theory: Work In Progress


In the new issue of Cloth Paper Scissors magazine is a great project about using the color wheel. I tend to use a lot of bright colors in my work but find I’m getting tired of the same old color combinations. So I started this project to work out the kinks in my use of color. Here is what I’ve got so far. I’m still stitching it and assembling it.
Color Theory: Work In Progress

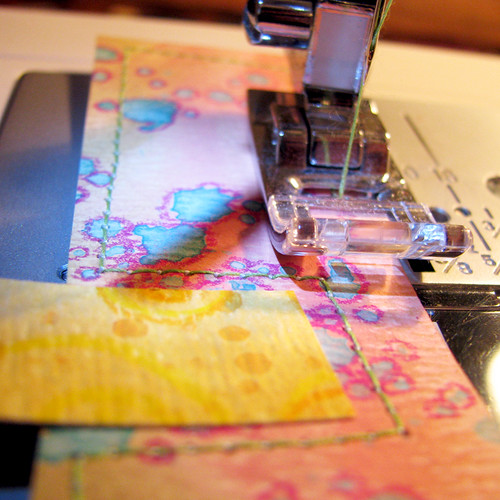
I’m using the sewing machine to add details. I love sewing on paper and that is the main reason I got the sewing machine in the first place. I’ve had it for more than a year and I don’t think I’ve even run any fabric through it!

Sewing Paper

Since we are on the topic of color I thought you might like to see how my scrap paper is looking. I’m definitely going to save it and use it for collage! Isn’t it cool?

Scrap Paper

Friday, December 25, 2009

Merry Christmas!

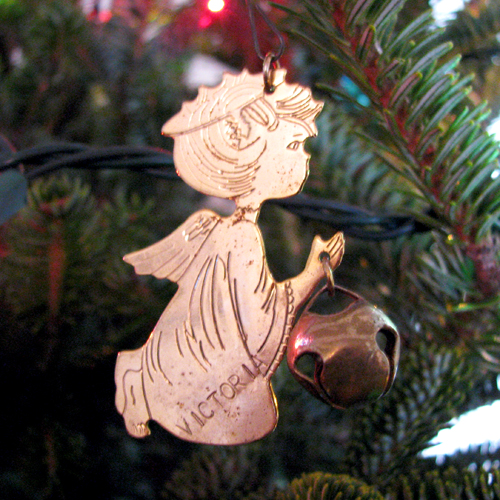
My Ornament

I got this as a gift when I was born from a grandparent... not sure which one. My twin sister has one just like it with her name on it. This is one of my most treasured belongings. So that makes it about 35 years old! Yikes!

I nearly died last night when it wasn't in the ornament box as we decorated our tree (rather late, I might add). The box it was in somehow got separated from the Christmas boxes in the basement and it was well hidden in a seat bench. I couldn't find my ornament for about an hour. It was a horrible feeling, but I'm happy now that it is safely on the tree! When my nieces were born I made sure to get one for each of them. It made my sister cry.

These are what I've been working on today and this week.

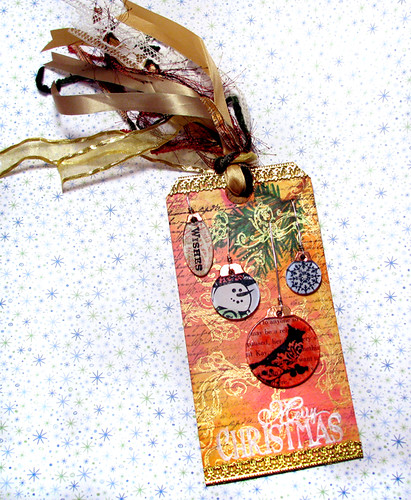
Charm Ornaments Tag

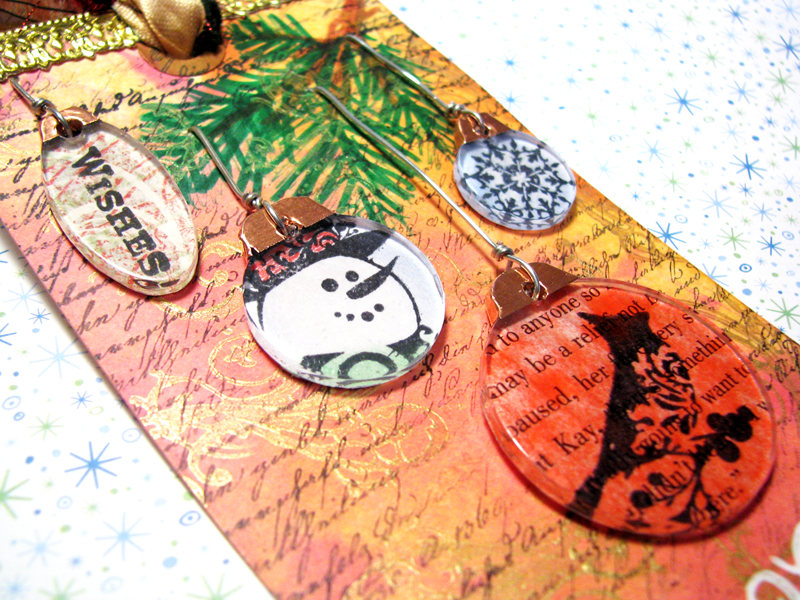
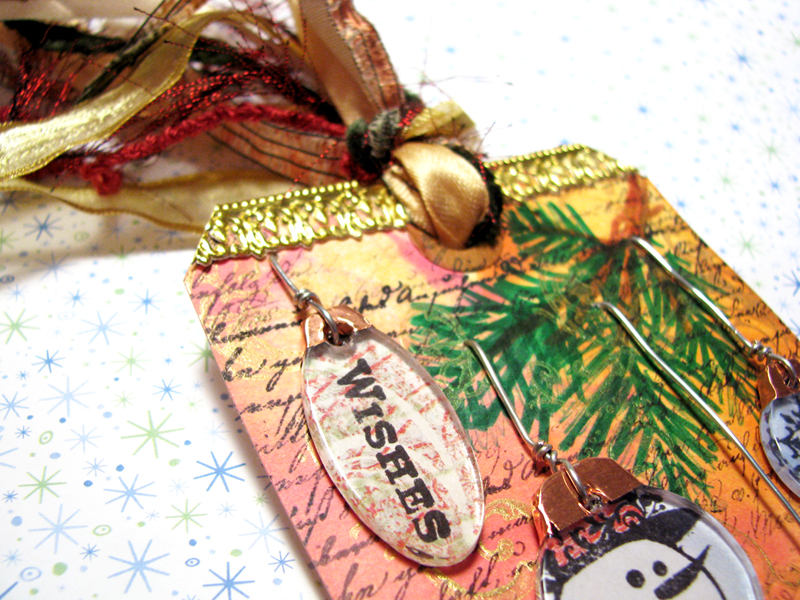
This one is inspired by Tim Holtz's 12 Tags of Christmas 2009: Day 5. These little plastic charms are a product in his line. The images are glued to the backs with Glossy Accents. You can see these pictures bigger at flickr by clicking on them.

Charm Ornaments Tag :: Close

Charm Ornaments Tag :: Close

Charm Ornaments Tag :: Close

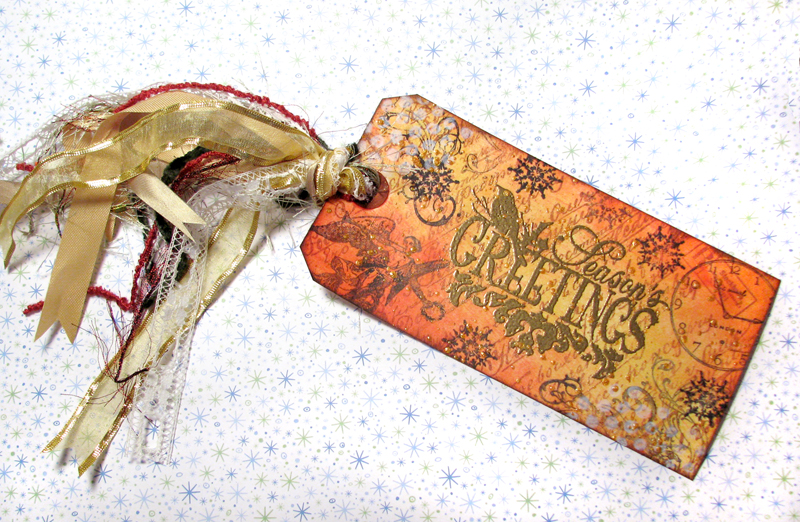
I made this tag this morning to give to my mom for Christmas. I really like gold embossing powder! And I cannot let a tag be with just one ribbon. It has to have lots of foofiness!

Seasons Greeting Gold Tag

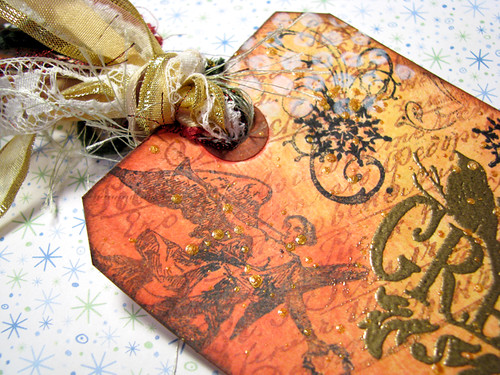
This tag is for my mom as a gift. She's a big fan of my work! Ha! Anyway, what says "I love you" better than handmade?

Seasons Greeting Gold Tag :: Close

Seasons Greeting Gold Tag :: Close

Seasons Greeting Gold Tag :: Ribbons and Yarn

I hope you are having a very merry Christmas, if it's your thing! xoxo

Thursday, December 17, 2009

Oh, What A Mess!


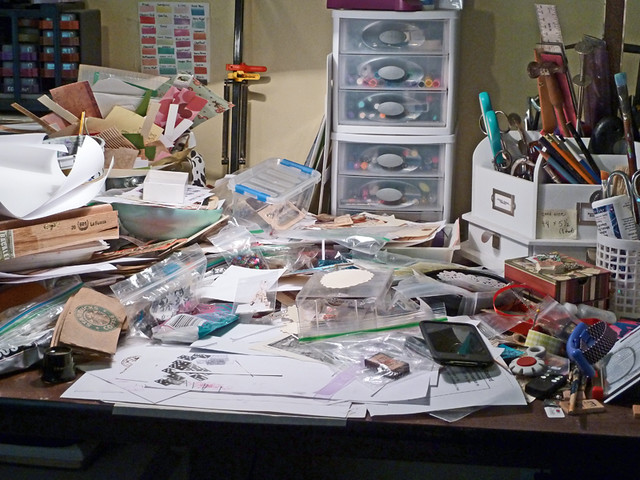
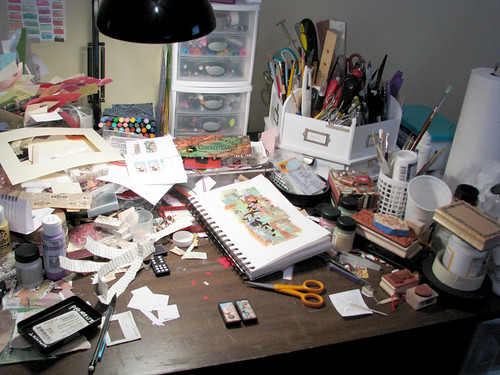
My Studio Table Today
Click to see it bigger with notes over at flickr

OK. I’ll be the first to admit I am a total slob in my studio. I do not have a “neat gene” at all. I like all my tools to be within arms reach. So it piles up around me. Not too good at putting things away when I’m done with them! I might need it again in another minute! It displeases me to have to get up from what I’m doing to get something for my current project. It’s disruptive. So I have this eternal mess.

It’s an inspiring mess, though. I love to sit and look at the little bits of paper left behind and how they mix with other paper around them. This is a source of design inspiration for me. It keeps my eyes busy and my brain going. I simply cannot work with a clean and organized work table. I’ve tried. It totally freaks me out.

My hunny calls the studio “The Fire Hazard”. I’m too embarrassed to show you the rest of it, to be honest. It’s really just more of the same from the work table, just spread out over a 10’ x 15’ room. Ugh. I cringe when people say, “Hey, can I stop by the studio and see your work?” Sure thing… if you can even walk into it! Welcome to the mess!

Not helping is the fact that I am a paper freak and collect it like it is gold. I have lofty plans to use it in collage work. But working on the size canvases I do (on small dominoes) not much of this paper collection gets used up. A domino maybe uses up 1.5 square inches of paper.

I would love it if you shared a photo of your studio. I like to see how other artists work. It’s very interesting to me. So please share!

Friday, December 11, 2009

“The Journey Awakens the Soul” Tag


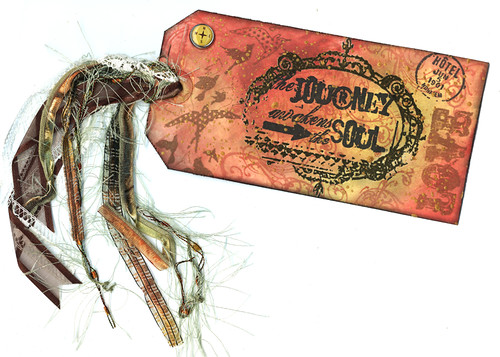
"The Journey Awakens the Soul" Tag

Getting into the spirit of Tim Holtz’s 12 Tags of Christmas has me making tags, tags, tags! I am waiting on more supplies to come by post to make tags inspired by his art. So more tags to come!

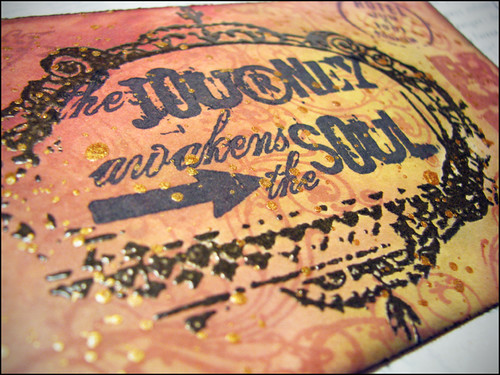
"The Journey Awakens the Soul" Tag :: Close

I bought some of his stamps at the craft store. I highly recommend his clear stamps. The quality of the material surpasses any other clear stamp around. They aren’t mushy at all. Each impression is perfect. They don’t have that give like most clear stamps have that often result in a blurred impression. Also, they stick to the acrylic blocks like nobody’s business. (What does that expression even mean?)

"The Journey Awakens the Soul" Tag :: Close

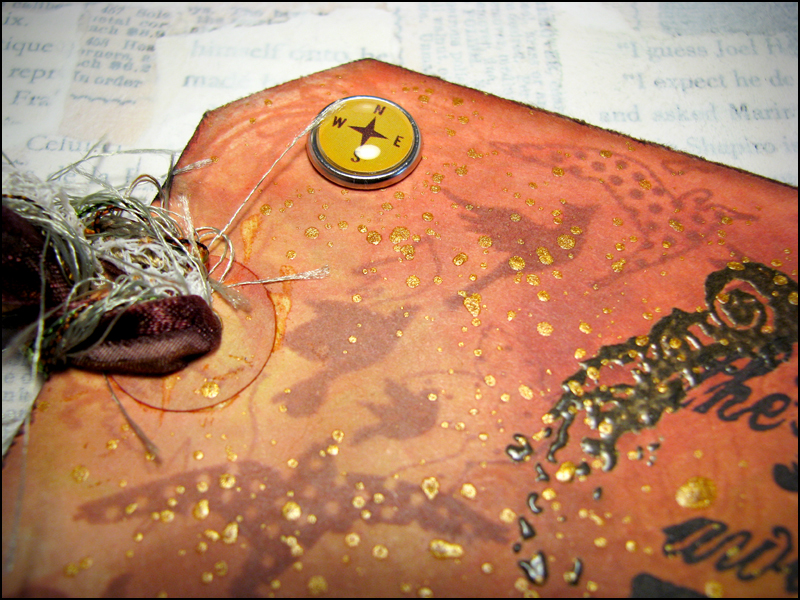
I didn’t have any tags in the right size so I made this one out of cardstock. I made a faux paper re-inforcer for the hole with two hole punches. Tags are a great size to work on. Not too big to be daunting but more room than an artist trading card. Plus I get to use my bits of ribbon and lace for the hanging part. Foofy!

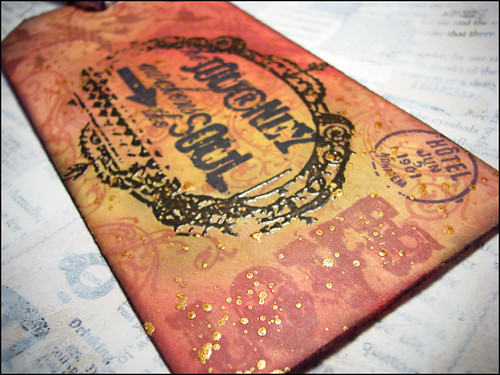
"The Journey Awakens the Soul" Tag :: Compass

If you have not checked out Tim Holtz’s blog, go there now to see the awesome inspiration he provides during the 12 Tags of Christmas. Each day he just blows me out of the water with his ideas! Plus he’s doing giveaways each day so be sure to leave him a comment!

ShareThis