

This page began as part of a workshop assignment to paint circles and then doodle over them. I am still working through Traci Bautista’s workshop called {31} daily inspirations. Yeah, that class I signed up for in early 2011. I’m really just now getting around to it.
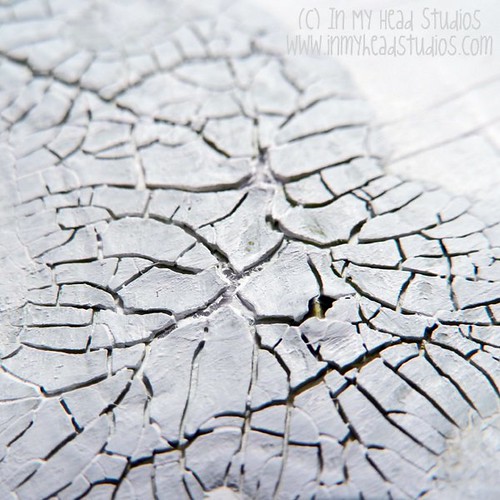
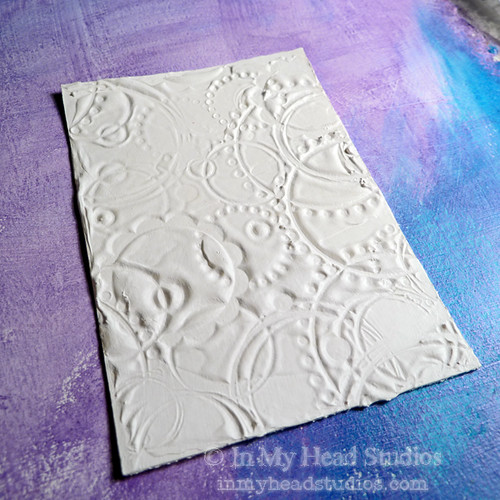
I started with a white piece of 8.5” x 11” cardstock. Several thick layers of gesso were added to bring in a little texture to the paper and to seal it.
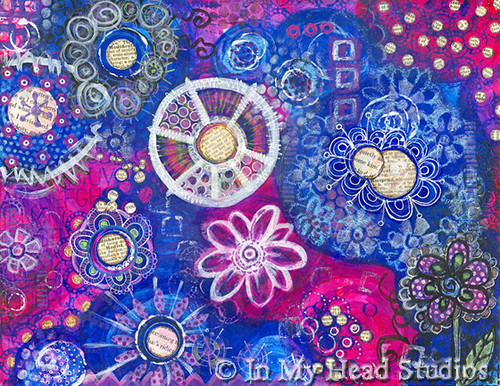
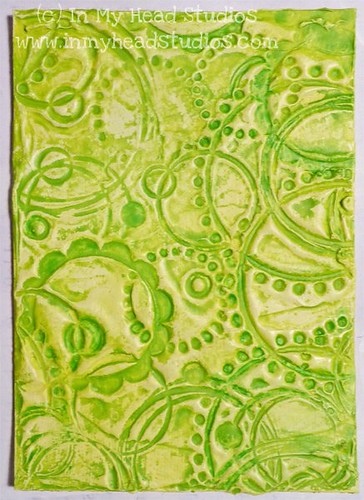
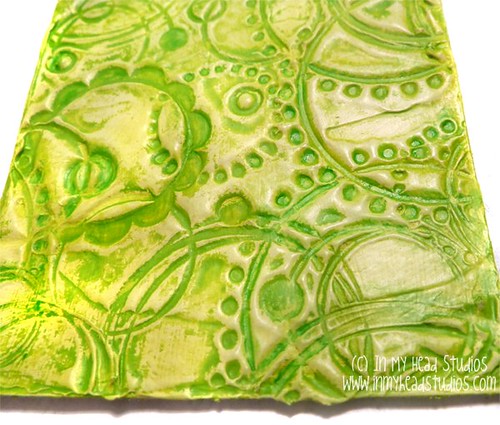
I acquired a new tube of paint I wanted to try called quinacridone magenta (Golden heavy body acrylic). When I opened the tube and saw how lovely it was I knew the perfect color combo would be phthalo blue, a hint of desert turquoise craft paint, and a little white.
The plan was to paint some loose circles and keep it simple. I was making a simple page to cut up to use for other collage work.
Uh. Yeah. Got a little off track there.
I saw the bigger circles had smaller circles in them. So I started working them individually thinking, “Ok, I’ll just cut this up in sections now for use on domino pendants and other smaller collages.” No problem. I have done that before.
So I began to think of the page as sections I was going to disassemble. They were not related to each other on the page. Just conserving paper by doing this prep work on one sheet.
But then it started to kind of take on a cohesive look. And got more detailed. And then my mom stopped by and she gasped loudly when I said I was chopping it up for other uses. Now I don’t know what to do with it.
I think it might be about six paintings living in one as I explored many techniques and media here… maybe too many. I suppose if any deconstruction occurs it will be mentally breaking down the parts for other new works.
Also I recently discovered on my own that I could continue my long, torrid love affair with oil pastels! They can be sealed over with matte medium without destroying them and then they do not smear. Joy of joys! You can even write over them with a gel pen! Unheard of! There really isn’t anything like a nice, bright, crayon-looking oil pastel mark on a page for some interest. I had hung my oil pastels up to (never) dry since the mess was always a problem when doing so much mixed media work. Now it’s solved and we are back in love! <3
I started with a white piece of 8.5” x 11” cardstock. Several thick layers of gesso were added to bring in a little texture to the paper and to seal it.
I acquired a new tube of paint I wanted to try called quinacridone magenta (Golden heavy body acrylic). When I opened the tube and saw how lovely it was I knew the perfect color combo would be phthalo blue, a hint of desert turquoise craft paint, and a little white.
The plan was to paint some loose circles and keep it simple. I was making a simple page to cut up to use for other collage work.
Uh. Yeah. Got a little off track there.
I saw the bigger circles had smaller circles in them. So I started working them individually thinking, “Ok, I’ll just cut this up in sections now for use on domino pendants and other smaller collages.” No problem. I have done that before.
So I began to think of the page as sections I was going to disassemble. They were not related to each other on the page. Just conserving paper by doing this prep work on one sheet.
But then it started to kind of take on a cohesive look. And got more detailed. And then my mom stopped by and she gasped loudly when I said I was chopping it up for other uses. Now I don’t know what to do with it.
I think it might be about six paintings living in one as I explored many techniques and media here… maybe too many. I suppose if any deconstruction occurs it will be mentally breaking down the parts for other new works.
Also I recently discovered on my own that I could continue my long, torrid love affair with oil pastels! They can be sealed over with matte medium without destroying them and then they do not smear. Joy of joys! You can even write over them with a gel pen! Unheard of! There really isn’t anything like a nice, bright, crayon-looking oil pastel mark on a page for some interest. I had hung my oil pastels up to (never) dry since the mess was always a problem when doing so much mixed media work. Now it’s solved and we are back in love! <3
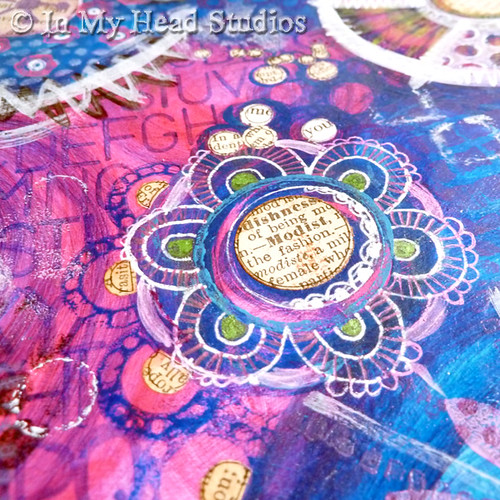
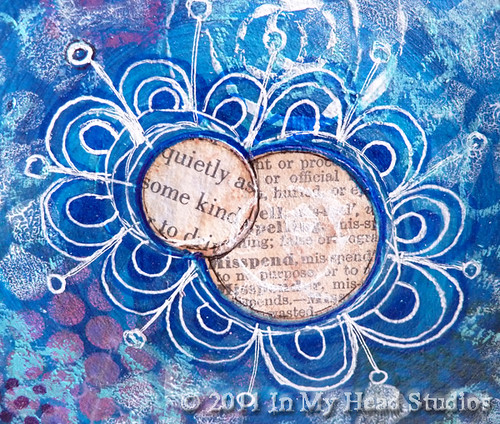
This is a close up of a flower created with gel pens and circles punched from an old dictionary page. I really like the lettering in the background on the left. That was done with a Copic marker and a stencil. The colors compliment wonderfully.
This is a mix of a little bit of everything: paint, colored pencil, gel pen, book page, and pigment ink.
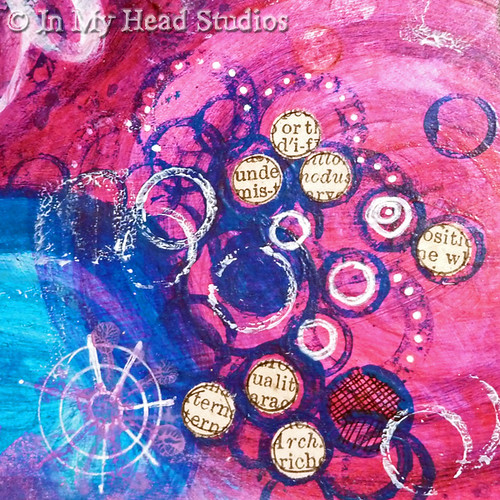
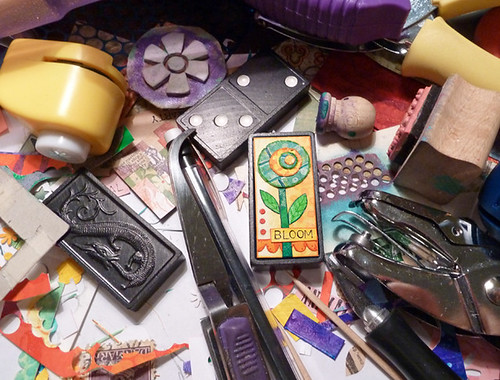
Circles stamped with found objects. The 1/4" hole punch dots fit in the circles perfectly! There's a little gel pen, too.
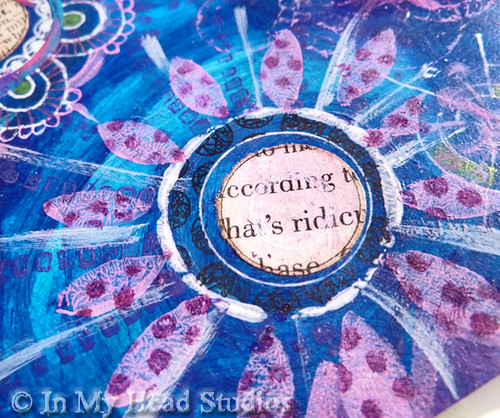
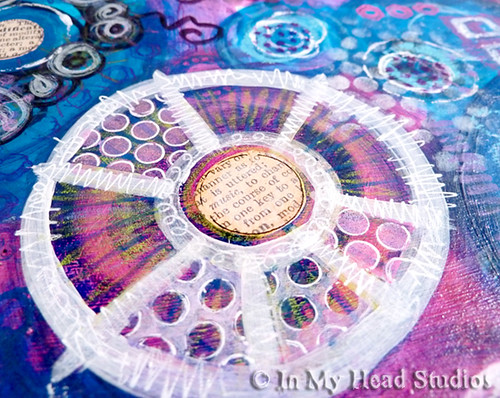
More book page and gel pen. The flower petals and the very small dashed lines are stamped with stamps I made. The tiny dots were done with a stencil I made with my 1/8" hole punch.
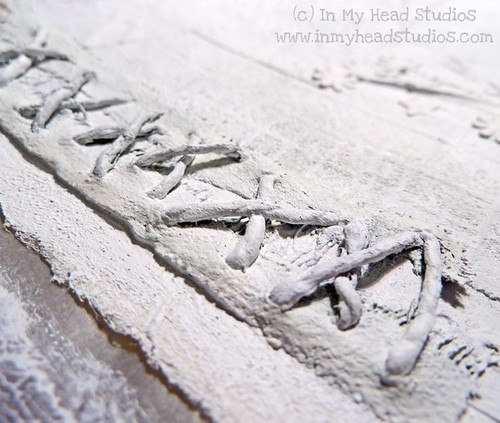
I aged these book pages more than the others with Distress Inks. I like how they are layered. The depth in the background was created with two colors of Copic markers. You can see oil pastel on the edges of this photo. Welcome back, oil pastel!
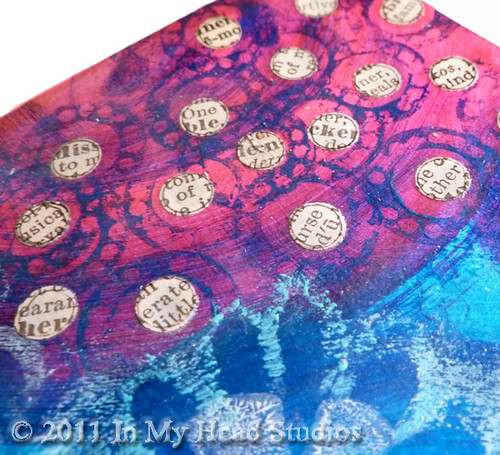
More tiny text dots. More found object stamp circles. This found object stamp came from a disassembled adhesive tape runner. (Nothing is safe from being taken apart and inked or painted in my house!)
Do you see what I mean that each of these close-ups could be their own painting? I must explore this further.
The details: acrylic paint (Golden heavy body and the craft kind), matte medium, oil pastel, vintage book pages, gel pen, Copic marker, Sharpie, colored pencil, pigment ink, stencils. On paper. 8.5” x 11”
So now I am back to the painting board to make some simpler pages for chopping up!
Happy Middle Of The Week!
- Vickie
Circles stamped with found objects. The 1/4" hole punch dots fit in the circles perfectly! There's a little gel pen, too.
More book page and gel pen. The flower petals and the very small dashed lines are stamped with stamps I made. The tiny dots were done with a stencil I made with my 1/8" hole punch.
I aged these book pages more than the others with Distress Inks. I like how they are layered. The depth in the background was created with two colors of Copic markers. You can see oil pastel on the edges of this photo. Welcome back, oil pastel!
More tiny text dots. More found object stamp circles. This found object stamp came from a disassembled adhesive tape runner. (Nothing is safe from being taken apart and inked or painted in my house!)
Do you see what I mean that each of these close-ups could be their own painting? I must explore this further.
The details: acrylic paint (Golden heavy body and the craft kind), matte medium, oil pastel, vintage book pages, gel pen, Copic marker, Sharpie, colored pencil, pigment ink, stencils. On paper. 8.5” x 11”
So now I am back to the painting board to make some simpler pages for chopping up!
Happy Middle Of The Week!
- Vickie


