Let's just pretend it's Wednesday, just you and I, on the down low.
Honestly, as you will see, I had too much happening on my art table on Wednesday to find time to post! Then taking photos and editing them made it impossible to get this up on time.
Give me a break, please. I'm new to a weekly post schedule and am still working out the kinks. :)
Without further ado, my projects!
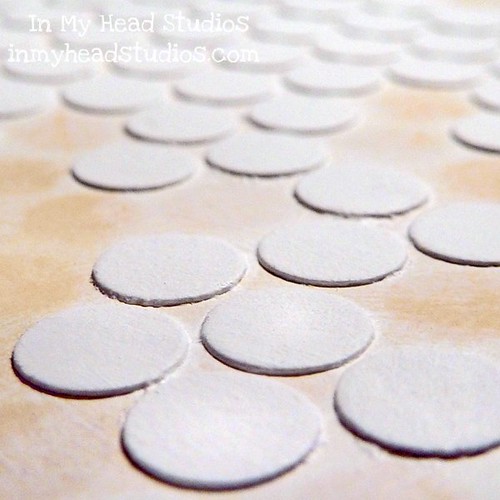
These are 1/4" paper circles I punched from a regular hole punch. This a really close up photo. I glued them down in a punchinella pattern and added gesso over them. This will make great texture for collage and art journal pieces after I paint it. It's quite fiddly and took forever to punch all these and glue them down! You can't see the whole page, but there are more than a hundred glued to that page. I am sure doing this kind of prep work will pay off soon!
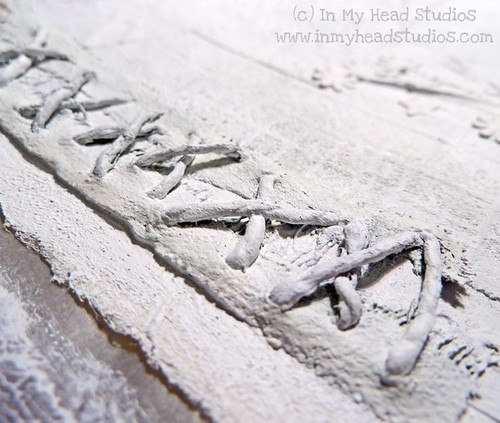
I am still working on my art journal page for 2011 in my theme of "healing". Some of my selves need to be stitched back together. I took some rough hemp and very vintage gaffer tape and sewed them together. Then I glued it to my page. A heavy layer of gesso was added to blend it in.
Right now the page has a ton of layering simulating pieces and parts, layers of myself, layers of skin, all healing back together. Evey thing has been coated in gesso to mimic a layer holding everything together. Whole. Healed. All put back together. One.
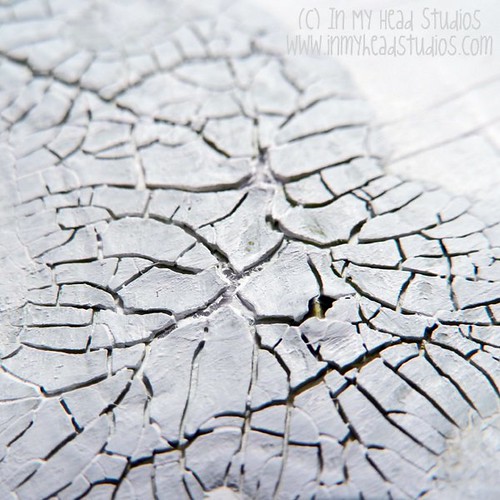
Distress Crackle Paint in green ("peeling paint" color) looks really neat in a macro photo! Those cracks look deep. It was green on the "healing" art journal page so it needed gesso, too. But not too much. I didn't want to fill in the cracks.
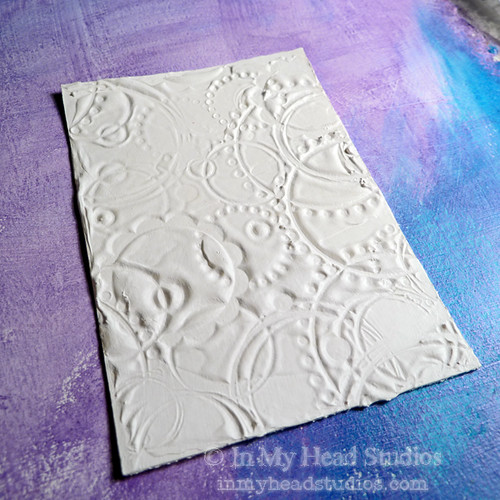
This is an ATC sized (2.5" x 3.5") piece of watercolor paper with texture from a "super sekrit" process I developed. It has two layers of gesso on top of the texture part.
I really cannot tell you how much I love gesso. I previously poo-pooed it in my head trying to be economical. I recant that opinion. It makes paint so much paint-ier (fun)!
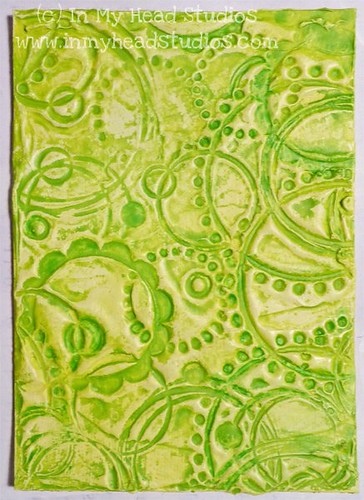
This is the same piece as above... just with paint! I scribbled a little yellow and light green NeoColor 2 watercolor crayon on it and wet that with a baby wipe to spread it, which worked better than I expected. Then I made a very watery, slightly darker lime green acrylic paint wash and painted it over the whole thing. I wanted it to settle into the recesses of the texture so I let it sit to dry a little. I very carefully rubbed the darker green off the raised areas with a plain piece of copy paper. Newspaper works well for this, too, as it's absorbent. Paper towel would have picked up too much paint because it's too absorbent.
I did have to touch up the darker green as I rubbed a bit too much. It's easier to touch up the recesses with a tiny brush.
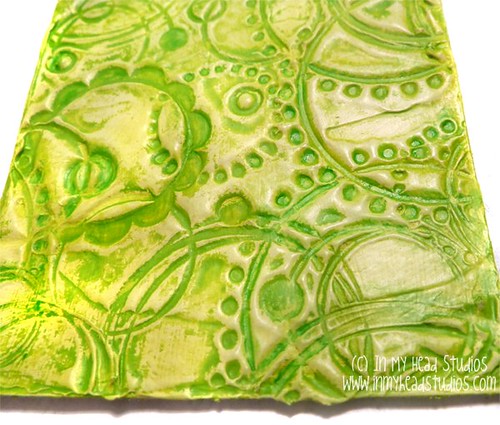
(Have I mentioned how much a love the macro zoooooooom on my digital camera?)
These pieces are not anywhere near done. But I have a pretty good start so I am happy. I certainly have no right to claim boredom with so many UFOs (UnFinished Objects)!
- Vickie


1 comment:
Interesting overview, vicky!
Post a Comment
Without your comments, I'm just talking to myself! Say something before they come to take me away. Ha ha, ho ho, hee hee.