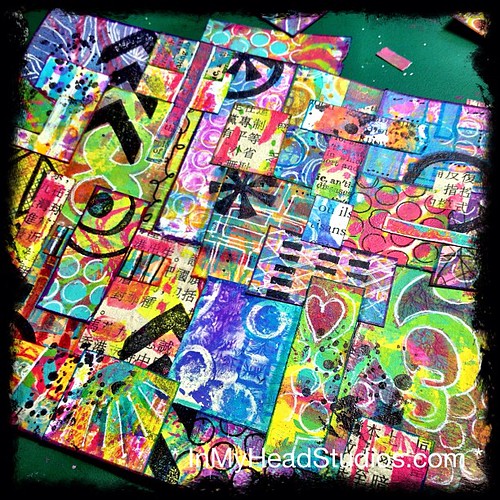
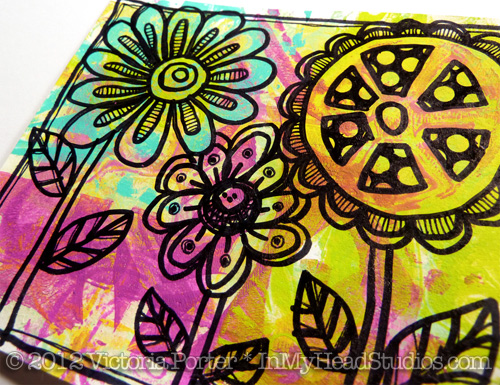
From this ...

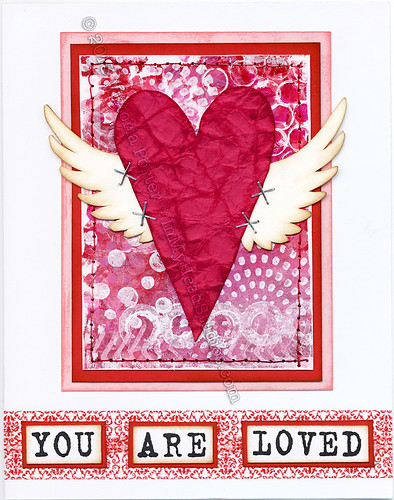
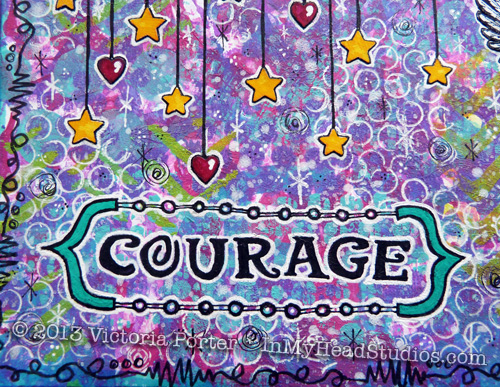
... to this ...
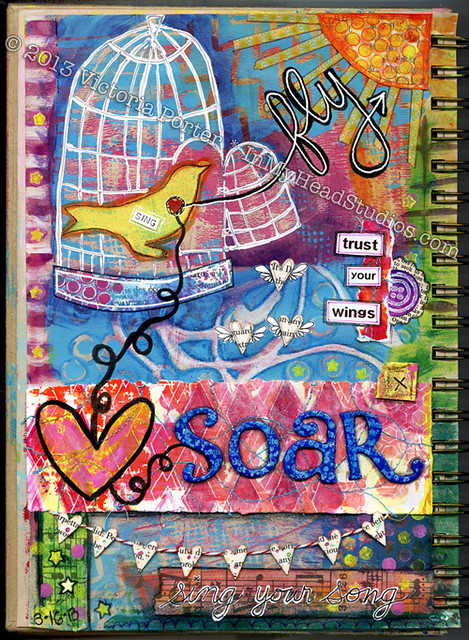
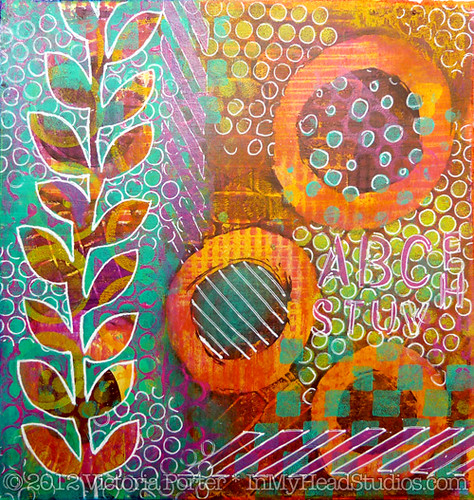
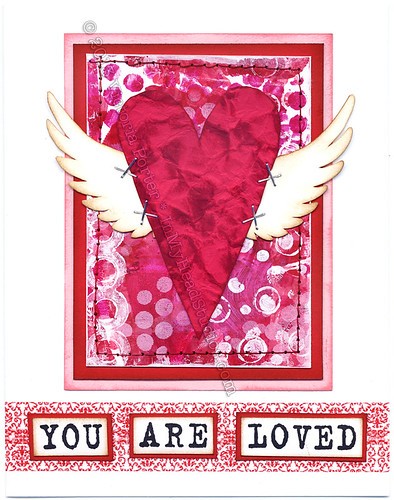
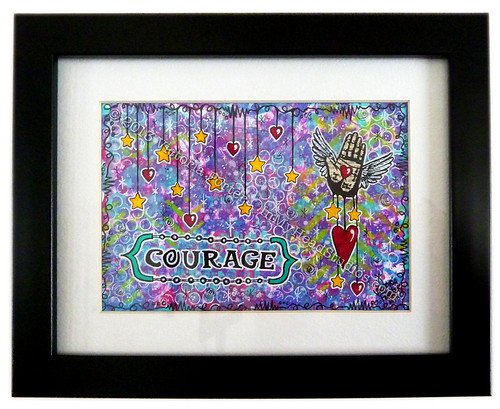
... to this! Ta da!
This page had more planned for me than I did for it! My muse was here in my presence. I could hear her whispering to me to "let my Little Bird fly".
Fly, Little Bird.
Fly and soar.
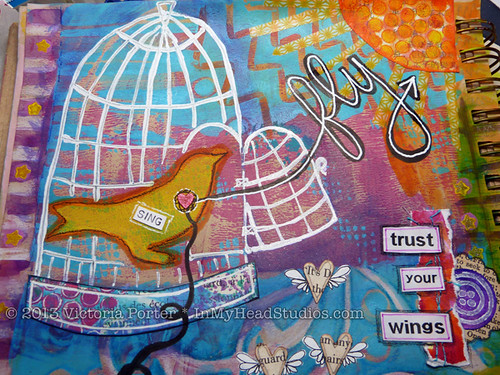
Trust your wings.
Sing your song!
Your amazing tiny heart
will take you anywhere.
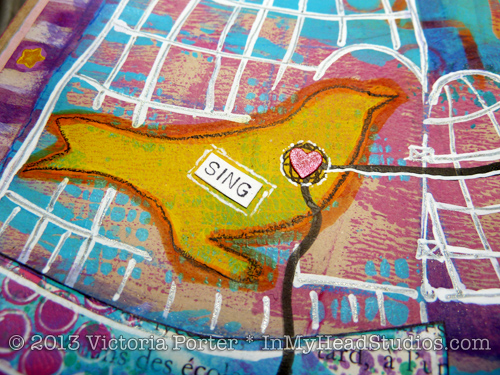
This bird stamp is my design, and is made from foam sheet and cardboard. It is outlined in orange Copic marker and then black Stabilo pencil for dimension. The bird cage is white-out pen. I drew over that with a sparkly gel pen to make the bars look shiny and metal.

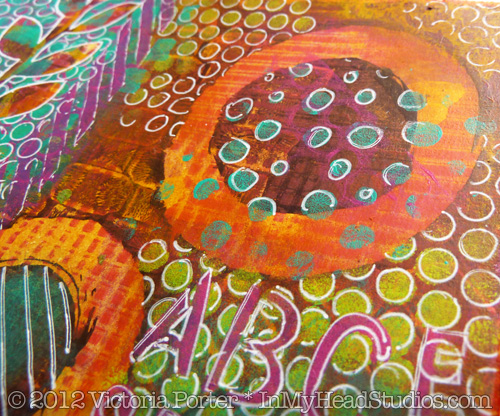
The purple circle and scalloped dictionary page were scraps laying around. I added my handmade button stamp to the circle and layered them. I used my label maker to print the words because I was in a hurry. They are pixelated, and that bugs me, but it's not a deal-killer on this piece.
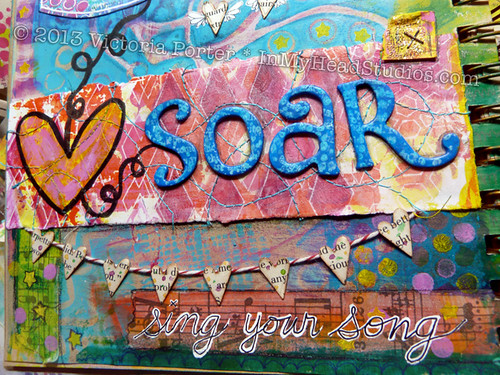
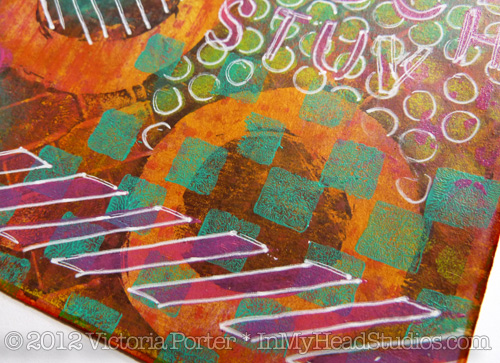
The letters for "soar" were brown to start with. I painted them and stamped some dots and lettering on them with paint. The dimension the raised letters add is lovely!
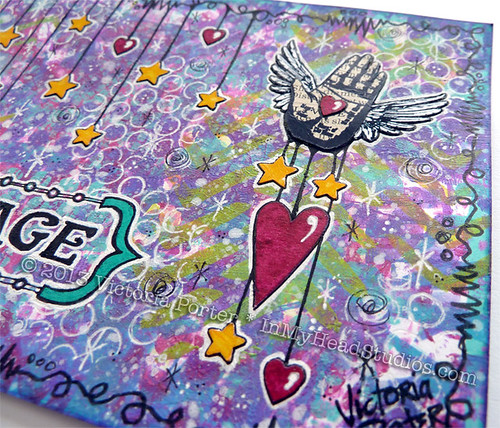
The little heart banner is punched hearts from book pages and baker's twine. A little watercolor splashed on the hearts creates some interest.

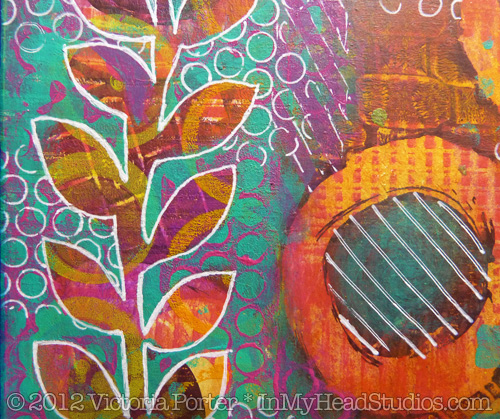
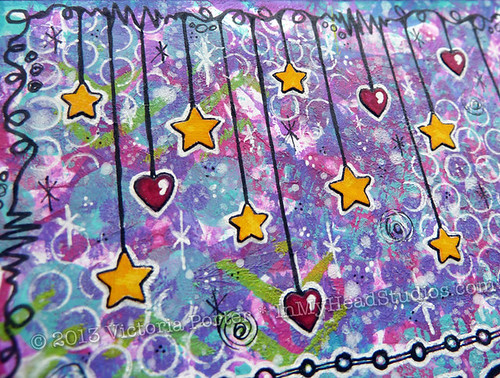
Look! I managed to sew in curvy lines - not jagged straight-ish arcs! The paper itself is created with gelli plate printing and white gel pen. This is before I drew the heart and swirly black line.
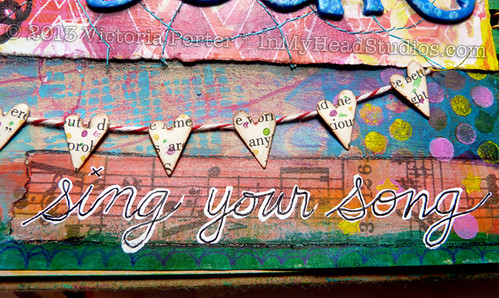
To connect the theme of singing I glued down some tissue tape with music on it. That needed some color so I washed a little acrylic paint over the tape. Using a Molotow white paint pen I wrote the words "sing your song" and added black to make it more readable. Some little doodles and stars here and there finished the piece nicely.
There you have it! This is the first art journal page I have completed this year. It took several days to work out. I printed the background about a month ago with my gelli plate right into the journal.
I worked on it here and there for a while until the full image finally came together. I wanted to experiment with some ideas I had in my sketchbook, and this piece gave me the chance to work those ideas out more thoroughly. That's what I love about art journaling! Mad science experiments! Focusing on the process! Mastering techniques! Practice Practice. Practice!!
I hope you have a wonderful weekend! Happy Easter if you celebrate! Also, Mr. M turns 40 this weekend! Huzzah!
- Vickie